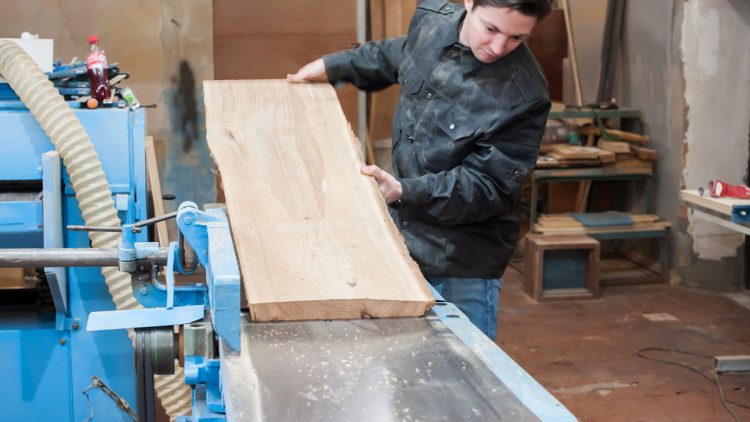
Air Tools vs. Electric Tools
Which type of power tool is the cream of the crop? Air tools (also referred to as pneumatic tools) and electric tools each come with their pros and cons, and each one can be more suitable in different cases. To help explain these pros and cons, let’s take a glance at three of the main differences between the two types of tools.
Force of the Tool
One of the main things to think about when selecting a tool is if it can produce enough force or torque. If you are required to cut through metal or machine-tighten a bolt, you are going to require a specific amount of torque to carry the endeavor out.
Air tools are infamously strong. The quantity of force they provide can be changed up or down by allowing the air compressor to transfer varying degrees of power. This has made them the tool of choice in places such as automotive shops and machine shops.
Nevertheless, electric tools are catching up. Presently, technical advances are allowing electric tools that rival air tools regarding power. These advances have been particularly remarkable with cordless tools, which have significantly benefitted from the next generation of cordless tool batteries.
Cost of the Tool
Tools cover their own costs with the work they carry out for you—however, you have to look at the price tag, also. When assessing cost, you’re balancing considerations such as convenience and service longevity against the dollar amount on the price tag. And when comparing air tools with electric tools, it gets even more convoluted.
Pneumatic tools have larger initial costs but lower back-end ones. The tools themselves tend to be less expensive than their electric parallels, and they usually last longer—however, they additionally require an air compressor, which adds considerably to the cost.
Electric tools are going to require less upfront investment, since you don’t have to invest in an individual power source. An electric tool is going to typically be a little more costly than an air tool that carries out the same task, however, a budget-friendly air tool is ineffective without that air compressor.
Feel of the Tool
How much time are you going to spend each day with a power tool in your hands? And how mobile are you required to be with your tools? Remember to think about how it feels to use this kind of tool when determining the differences among them.
Each variety of tool can fit snugly your hand—that’s just an issue of discovering a model that feels comfortable to you. However, air tools are more light weight than electric tools, which can impact how it feels to wield the tool throughout day. It’s not only a matter of comfort—exhaustion can be an adverse influence on your projects.
At the same time, when using an air tool you are always going to be required connected to an air compressor, limiting your mobility. In the meantime, cordless electric tools make for easy mobility, and there isn’t anything to trip over or get tangled up in. And whereas electric tools have always been heavier, they’re starting to be more lightweight as technology progresses. Even industries that conventionally use air tools are starting to make the change for these conveniences.
Advancement of Tools
The benefits of each kind of tool were at one time, simpler. Air tools were lighter and more robust, and electrics were more adaptable. Nevertheless, technological advances have led to changes in the design, weight and even proficiency of each tool. It’s worth examining the pros and cons as you decide which type of tool is appropriate for your projects.
Woodworking Supplies Mesa by Timber Woodworking
Timber Woodworking offers hardwoods in Mesa, Arizona. We specialize in woodworking tools, equipment, and supplies for commercial woodworking cabinet shops or furniture manufacturers as well as the home shop hobbyist. Contact us today, or call if you should have any questions.